Here's a fun technique you can use to create new digital papers.
Open two papers and layer one on top of the other. It would be a good idea to rename your document using File>Save As at this point to make sure you don't copy over your original paper.
Click on the bottom layer in the Layers Palette to make it active, then click on the New Layer icon at the bottom of that palette, circled in red in the image below.
Now you will have an empty layer between your two papers.
Click on the Gradient Tool, fourth one up from the color chips, circled in the image below.
In the Gradient Tool Options Bar at the top of the workspace, click on the first down arrow to access the gradient choices. Choose the second one, titled "Foreground to Transparent." The square images indicate various types of gradients you can choose. I'm using the first, Linear Gradient. You can adjust the Opacity and experiment with a few other options too.
Making sure your blank layer is still the active (highlighted layer), click anywhere on your document, hold, and drag straight or at an angle. The length and angle you drag determine the appearance of your gradient. You can also drag multiple times.
Here is how my Layers Palette looks after I've drawn several gradients from points around the edge toward the focal point where I plan to place my photo. The color of your gradient will be that of your foreground color chip, but it isn't important because of the next step.
Now clip the top paper to the gradient layer. I use the keyboard shortcut: making sure the top paper is active, type Control/Command-G. A small arrow appears to the left of the top paper indicating it is clipped to the gradient layer below, and the effect is visible in my document.
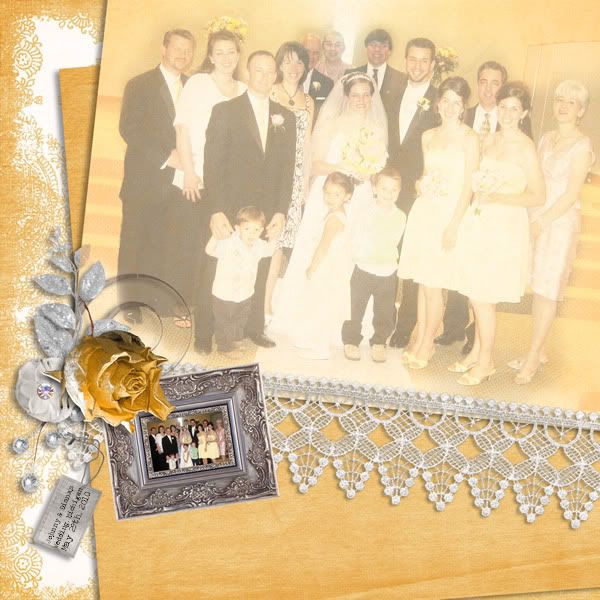
Here is my finished layout using my new paper that blends two papers from A+ Designs' kit, Heaven Scent.


